 Add embedded HTML within your course
Add a new element to a lesson in your course.
Select embed HTML from the interactive dropdown that appears.
Click the component and select edit.
Enter the HTML you would like to use.
Click preview.
View the converted HTML.

You can:
Create custom interactive components.
Use HTML, JavaScript and CSS to create your custom element.
You cannot:
Create question or exam components.
HTML forms are not supported.
Example HTML Embed
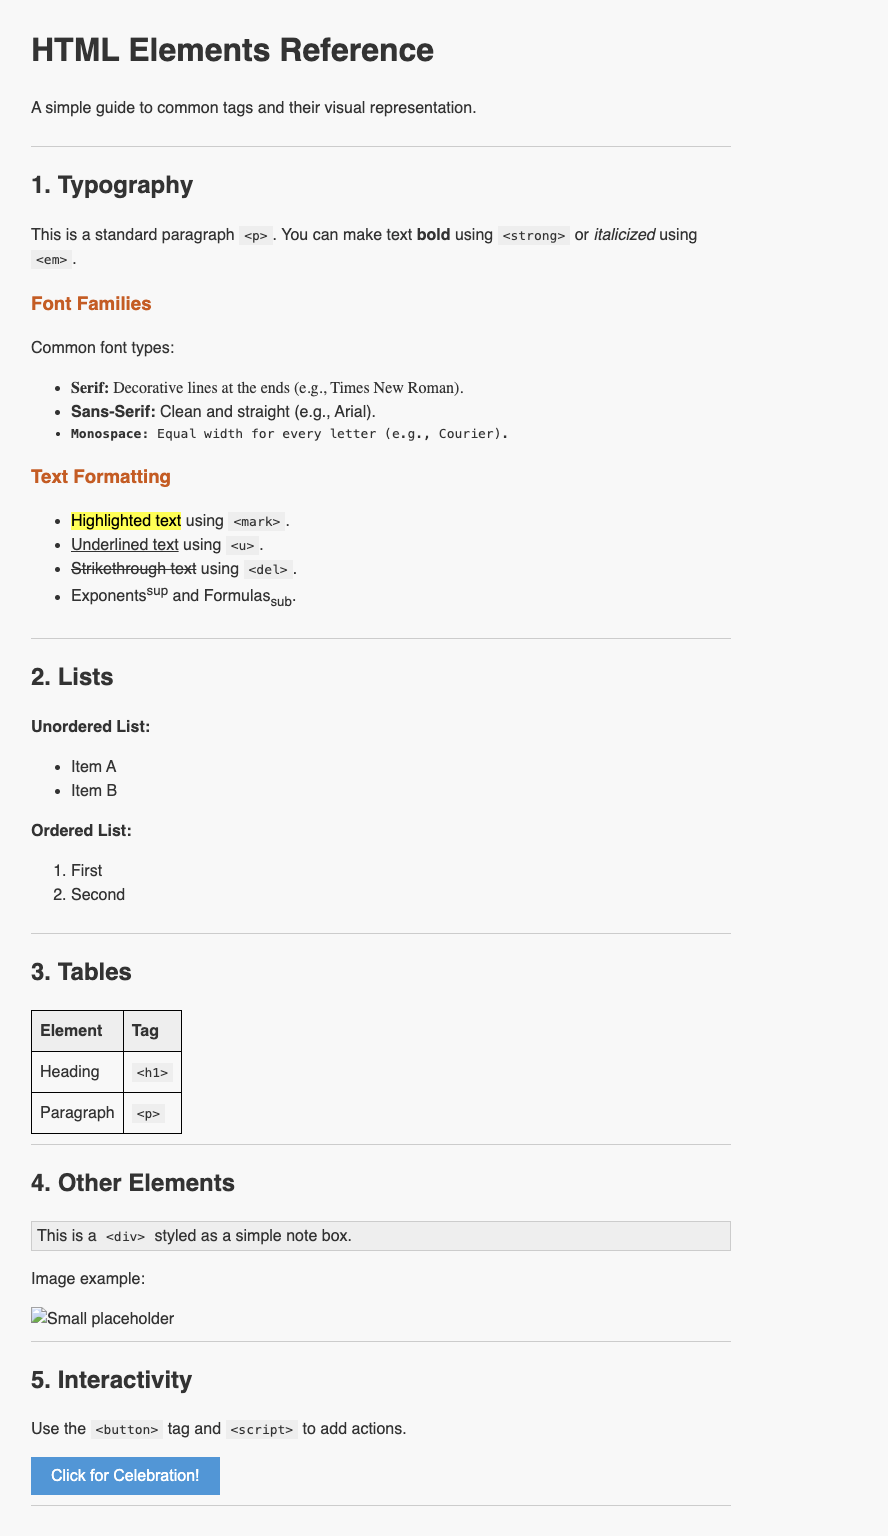
Example HTML Code
<style>
/* Minimal styling for maximum simplicity */
body {
font-family: sans-serif;
line-height: 1.5;
max-width: 700px;
margin: 20px auto;
padding: 20px;
color: #333;
}
header, section {
border-bottom: 1px solid #ccc;
margin-bottom: 20px;
padding-bottom: 10px;
}
h3 { color: #d35400; }
code, .note {
background: #eee;
padding: 2px 5px;
}
.note {
border: 1px solid #ccc;
display: block;
}
table, th, td {
border: 1px solid #000;
border-collapse: collapse;
padding: 8px;
text-align: left;
}
th { background: #eee; }
/* Button and Confetti styling */
.btn {
background: #3498db;
color: white;
padding: 10px 20px;
border: none;
cursor: pointer;
font-size: 16px;
}
.btn:hover { background: #2980b9; }
.confetti {
position: fixed;
top: -50px;
font-size: 24px;
z-index: 1000;
pointer-events: none;
animation: fall 3s linear forwards;
}
@keyframes fall {
to {
transform: translateY(110vh) rotate(360deg);
}
}
</style>
</head>
<body>
<header>
<h1>HTML Elements Reference</h1>
<p>A simple guide to common tags and their visual representation.</p>
</header>
<!-- Section 1: Typography -->
<section>
<h2>1. Typography</h2>
<p>This is a standard paragraph <code><p></code>. You can make text <strong>bold</strong> using <code><strong></code> or <em>italicized</em> using <code><em></code>.</p>
<h3>Font Families</h3>
<p>Common font types:</p>
<ul>
<li style="font-family: serif;"><strong>Serif:</strong> Decorative lines at the ends (e.g., Times New Roman).</li>
<li style="font-family: sans-serif;"><strong>Sans-Serif:</strong> Clean and straight (e.g., Arial).</li>
<li style="font-family: monospace;"><strong>Monospace:</strong> Equal width for every letter (e.g., Courier).</li>
</ul>
<h3>Text Formatting</h3>
<ul>
<li><mark>Highlighted text</mark> using <code><mark></code>.</li>
<li><u>Underlined text</u> using <code><u></code>.</li>
<li><del>Strikethrough text</del> using <code><del></code>.</li>
<li>Exponents<sup>sup</sup> and Formulas<sub>sub</sub>.</li>
</ul>
</section>
<!-- Section 2: Lists -->
<section>
<h2>2. Lists</h2>
<p><strong>Unordered List:</strong></p>
<ul>
<li>Item A</li>
<li>Item B</li>
</ul>
<p><strong>Ordered List:</strong></p>
<ol>
<li>First</li>
<li>Second</li>
</ol>
</section>
<!-- Section 3: Tables -->
<section>
<h2>3. Tables</h2>
<table>
<tr>
<th>Element</th>
<th>Tag</th>
</tr>
<tr>
<td>Heading</td>
<td><code><h1></code></td>
</tr>
<tr>
<td>Paragraph</td>
<td><code><p></code></td>
</tr>
</table>
</section>
<!-- Section 4: Media & Others -->
<section>
<h2>4. Other Elements</h2>
<div class="note">
This is a <code><div></code> styled as a simple note box.
</div>
<p>Image example:</p>
<img src="https://via.placeholder.com/100" alt="Small placeholder">
</section>
<!-- Section 5: Interactivity -->
<section>
<h2>5. Interactivity</h2>
<p>Use the <code><button></code> tag and <code><script></code> to add actions.</p>
<button class="btn" onclick="showConfetti()">Click for Celebration!</button>
</section>
<script>
function showConfetti() {
const emojis = ['🎉', '✨', '🎊', '🎈', '⭐'];
// Create 30 pieces of "confetti"
for (let i = 0; i < 30; i++) {
const confetti = document.createElement('div');
confetti.className = 'confetti';
confetti.innerText = emojis[Math.floor(Math.random() * emojis.length)];
confetti.style.left = Math.random() * 100 + 'vw';
confetti.style.animationDuration = (Math.random() * 2 + 1) + 's';
confetti.style.opacity = Math.random();
document.body.appendChild(confetti);
setTimeout(() => {
confetti.remove();
}, 3000);
}
}
</script>
</body>